Braille Image to Text: Scan & Translate (MS)
Convert braille photos to text using OCR image scanning. Learn camera tips, formats, and how the free image scanner works.
By Braille Translator Team
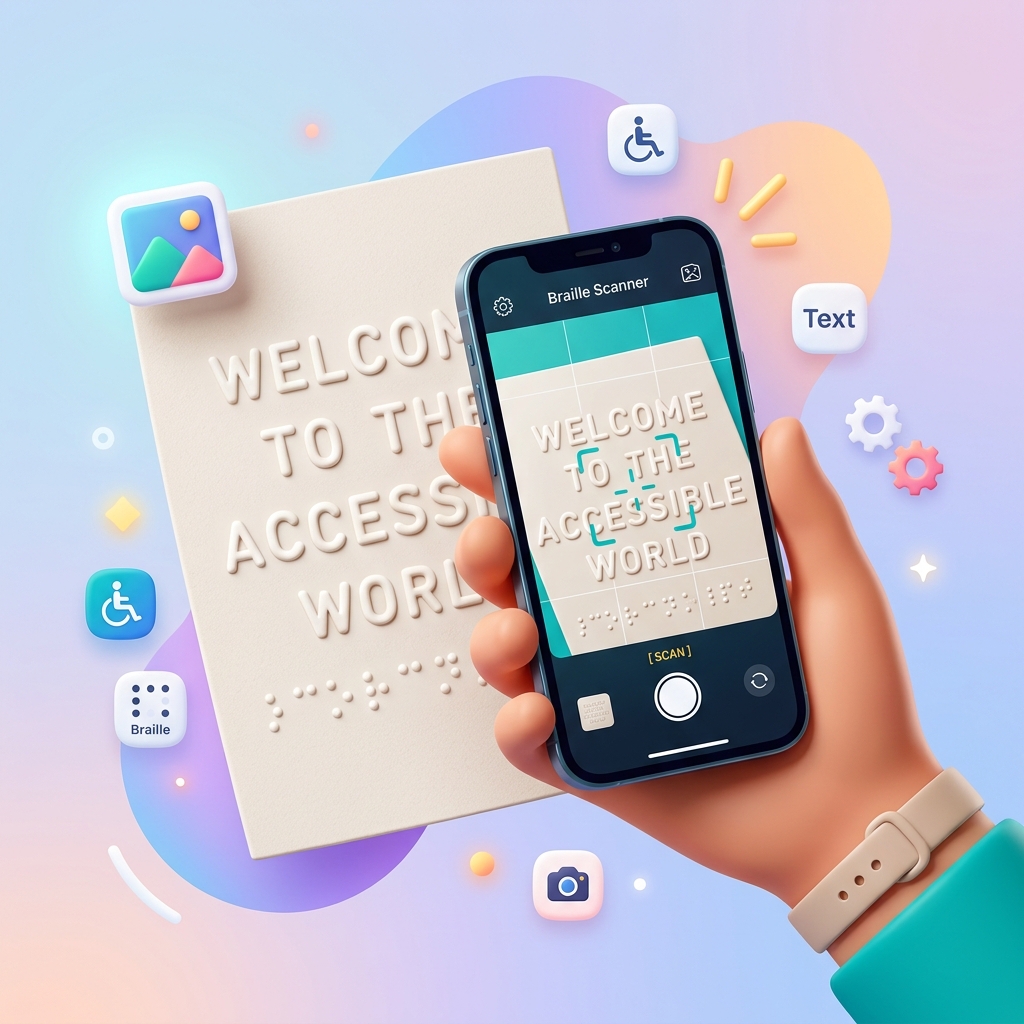
What Is Braille Image-to-Text Translation? (MS)
Braille image-to-text translation uses optical character recognition (OCR) to convert photographs of braille into readable printed text. A braille OCR system detects the raised dot patterns in an image, identifies each braille cell, maps the braille cells to characters in the selected language table, and outputs the translated text. The Image to Text tool on Braille Translator performs this entire process in a web browser — no software installation required.
Traditional braille reading requires tactile literacy. Braille image-to-text translation removes that requirement by letting sighted users, teachers, and librarians read braille content through a photograph. The process works on braille signs, braille labels, braille books, and braille student assignments.
How the Braille Translator Image-to-Text Tool Works in 3 Steps (MS)
The Image to Text tool converts braille photos into text through 3 sequential steps:
Step 1: Upload the Braille Image (MS)
Upload a photo containing braille by selecting a file from your device or dragging the file into the upload area. The tool accepts 3 file formats: JPEG, PNG, and HEIC. HEIC support allows iPhone users to upload photos directly without file conversion. Maximum recommended image resolution is 4000 × 3000 pixels for optimal processing speed.
On mobile devices, the upload button opens the phone camera directly. Take a photo of the braille text and the image loads into the tool immediately — no separate camera app step needed.
Step 2: Process the Image (MS)
The tool analyzes the uploaded image using a braille OCR engine. The engine scans the image for circular dot patterns arranged in the standard 2-column, 3-row braille cell grid. Each detected cell measures approximately 6.2 mm (0.24 inches) wide by 10.0 mm (0.39 inches) tall in standard braille.
During processing, the tool generates detection boxes — rectangular outlines drawn around each recognized braille cell in the image. Detection boxes let users verify which cells the OCR engine identified. Cells without detection boxes indicate missed characters, which signals the need for a clearer photo.
Select the correct language table before or after processing. The language table determines how braille dot patterns map to printed characters. English Unified English Braille (UEB) Grade 2 differs from French braille, Spanish braille, and every other language code. Selecting the wrong language table produces incorrect text output.
Step 3: Read the Results (MS)
The translated text appears below the processed image. Copy the text, read the text on screen, or use the text for documentation. The detection box overlay remains visible on the image so users can cross-reference specific braille cells with their translated characters.
Camera Tips for Best Braille OCR Results (MS)
Image quality directly determines braille OCR accuracy. Follow these 4 camera guidelines:
1. Lighting: Use Even, Diffused Light (MS)
Photograph braille under even, diffused lighting. Harsh directional light creates shadows behind raised braille dots, and those shadows cause the OCR engine to misread dot positions. Natural daylight from a window works well. Avoid camera flash — flash produces glare on glossy braille paper and creates uneven shadows across embossed dots.
2. Angle: Shoot Directly Above the Braille (MS)
Position the camera directly above the braille surface at a 90-degree angle. Angled photos distort the spacing between braille cells. The OCR engine relies on consistent 2.5 mm (0.10 inch) dot spacing and 6.0 mm (0.24 inch) cell spacing to identify individual cells. Even a 15-degree camera tilt skews these measurements enough to reduce recognition accuracy.
3. Distance: Fill the Frame with Braille Text (MS)
Move close enough that the braille text fills 80–90% of the image frame. Braille dots in a low-resolution crop become indistinguishable from noise. Each braille dot has a diameter of approximately 1.5 mm (0.06 inches), so capturing dots at sufficient pixel density requires the camera to be 15–30 cm (6–12 inches) from the page.
4. Focus: Ensure Sharp Focus on the Dots (MS)
Tap the braille area on your phone screen to lock autofocus on the dots. Blurry images prevent the OCR engine from distinguishing raised dots from flat paper. Check the preview image for dot clarity before uploading. A single braille dot should appear as a distinct circle with clear edges, not a smudged blob.
Handling Double-Sided Braille (Interpoint) (MS)
Interpoint braille has dots embossed on both sides of the same page. Dots from the reverse side appear as indentations on the photographed side. Interpoint braille saves paper — a 200-page single-sided braille book becomes 100 pages in interpoint format.
The braille OCR engine must distinguish front-side raised dots from back-side indentations. Good lighting helps: raised dots cast small shadows downward, while indentations cast shadows upward. Even, overhead lighting minimizes confusion between the 2 dot types.
For best interpoint scanning results, place a dark sheet of paper behind the braille page to increase contrast. The dark backing prevents light from passing through the page and illuminating reverse-side dots.
Detection Boxes: Visual Verification of Recognition (MS)
The Image to Text tool overlays detection boxes on the processed image. Each detection box is a colored rectangle surrounding 1 recognized braille cell. Detection boxes serve 3 purposes:
- Confirming correct cell boundaries — verify the OCR engine segmented cells at the right positions
- Identifying missed cells — cells without boxes indicate recognition failures
- Debugging translation errors — compare a specific detection box to the expected braille character
Users can toggle detection box visibility on and off. Turning detection boxes off shows the original image without overlay marks.
Language Table Selection for Accurate Translation (MS)
Braille is not universal. Each language uses a distinct braille code that assigns different meanings to the same dot patterns. Dot pattern ⠡ (dots 1-6) represents “ch” in English UEB but a different character in French braille.
The Image to Text tool includes language tables for 20+ languages through the LibLouis translation library. Select the matching language table before reading results. Common language tables include:
| Language | Braille Code | Table Name |
|---|---|---|
| English | UEB Grade 2 | en-ueb-g2.ctb |
| French | Code Braille Français Unifié | fr-bfu-g2.ctb |
| Spanish | Braille Español | es-g2.ctb |
| German | Deutsche Blindenschrift | de-g2.ctb |
| Arabic | Arabic Grade 1 | ar-ar-g1.ctb |
Selecting the wrong language table is the most common cause of nonsensical translation output. Always confirm which language the source braille uses before translating.
7 Use Cases for Braille Image-to-Text Translation (MS)
1. Sighted People Reading Braille Signs (MS)
Braille signs appear on elevator panels, room numbers, restroom doors, and public transit stations. Sighted individuals who cannot read braille tactilely can photograph the sign and translate the braille text using the Image to Text tool.
2. Teachers Checking Student Braille Work (MS)
Teachers of the Visually Impaired (TVIs) grade braille assignments written by students. Photographing each page and running the image through the braille OCR tool speeds up the grading process compared to reading each cell by touch.
3. Librarians Cataloging Braille Books (MS)
Libraries with braille collections need to catalog book titles, authors, and subject matter. Scanning the braille title page with the Image to Text tool translates the cover information into print text for database entry.
4. Museum and Historical Document Preservation (MS)
Archives containing historical braille documents benefit from digitization. Photographing each braille page and translating the braille text creates searchable digital records of braille manuscripts.
5. Parents Reading Children’s Braille Homework (MS)
Sighted parents of blind or visually impaired children often receive braille schoolwork they cannot read. The image-to-text tool lets parents read and understand their child’s braille assignments.
6. Accessibility Auditors Verifying Braille Signage (MS)
Building inspectors and accessibility auditors verify that braille signage meets Americans with Disabilities Act (ADA) standards. The braille OCR tool confirms whether the braille text matches the corresponding print text on the sign.
7. Travelers Reading Foreign Braille (MS)
International travelers encounter braille in airports, hotels, and restaurants. Photographing foreign braille and selecting the correct language table translates unfamiliar braille into readable text.
Braille Image-to-Text vs. Dedicated Hardware Scanners (MS)
Dedicated braille scanning hardware costs $2,000 to $5,000 per unit. These devices (such as the ELIA Frames scanner and the Objectif braille scanner) use tactile sensors or high-resolution cameras with specialized lighting to read braille pages.
| Feature | Dedicated Scanner | Braille Translator Tool |
|---|---|---|
| Cost | $2,000–$5,000 | Free |
| Accuracy | 95–99% | 85–95% (image-dependent) |
| Speed | 1–2 seconds per page | 3–5 seconds per image |
| Portability | Bulky hardware | Any phone or computer |
| Interpoint Support | Built-in separation | Lighting-dependent |
| Setup | Calibration required | No setup |
The Image to Text tool provides free braille OCR with no hardware purchase. Accuracy depends on image quality rather than sensor calibration. For occasional braille reading needs, the free tool eliminates the $2,000+ hardware investment.
For high-volume braille scanning (500+ pages per day), dedicated hardware offers higher throughput and more consistent accuracy. For 1–50 pages per session, the free online tool delivers sufficient accuracy at zero cost.
6 Factors That Affect Braille OCR Accuracy (MS)
- Image resolution — higher pixel density captures smaller dots more clearly; aim for 300+ DPI equivalent
- Lighting uniformity — uneven lighting creates false shadows that mimic or obscure dots
- Paper condition — worn, creased, or water-damaged braille pages have flattened dots that reduce detection rates
- Braille cell clarity — freshly embossed braille has sharper dot profiles than old, compressed braille
- Camera stability — hand shake during capture causes motion blur; brace the phone against a surface or use a tripod
- Background contrast — white braille paper on a white table provides less contrast than white paper on a dark surface
Mobile Usage: Phone Camera to Text (MS)
The Image to Text tool works in mobile browsers on iOS and Android. The workflow on mobile devices follows 4 steps:
- Open the Image to Text tool in a mobile browser (Safari, Chrome, or Firefox)
- Tap the upload button — the phone camera opens directly
- Photograph the braille text following the 4 camera tips above
- View the translated text on screen
No app installation is required. The tool runs entirely in the browser. Mobile processing uses the same OCR engine as the desktop version, so accuracy is identical for the same image quality.
For repeat use, add the Braille Translator website to the phone’s home screen for 1-tap access. On iOS, tap the share button and select “Add to Home Screen.” On Android, tap the browser menu and select “Add to Home screen.”
Supported File Formats (MS)
The Image to Text tool accepts 3 image file formats:
- JPEG (.jpg, .jpeg) — the most common photo format, used by Android cameras and most digital cameras
- PNG (.png) — lossless compression format, useful for screenshots or pre-processed images
- HEIC (.heic) — the default photo format on iPhones running iOS 11 and later
JPEG files above 10 MB may cause slower upload times on mobile networks. Resize large images to 3000 × 2000 pixels or smaller for faster processing without significant accuracy loss.
Getting Started with Braille Image-to-Text Translation (MS)
Open the Image to Text tool on Braille Translator to start converting braille photos into text. Upload a braille photo, select the language table, and read the translated output in under 10 seconds. The tool works on desktop computers, tablets, and smartphones with no account registration or payment required.
For converting typed text into braille, use the Text to Braille tool. For looking up specific braille contractions, use the Contraction Lookup tool. For converting braille Unicode characters back into text, use the Braille to Text tool.